These tasty vegan & gluten-free bagels are an absolute winner. They’re way healthier than your regular old bagel, and will have you coming back for more. Soft, chewy, and incredibly delicious, to make things even better try them with vegan cashew cream cheese or vegan butter. These will become a breakfast staple for you!
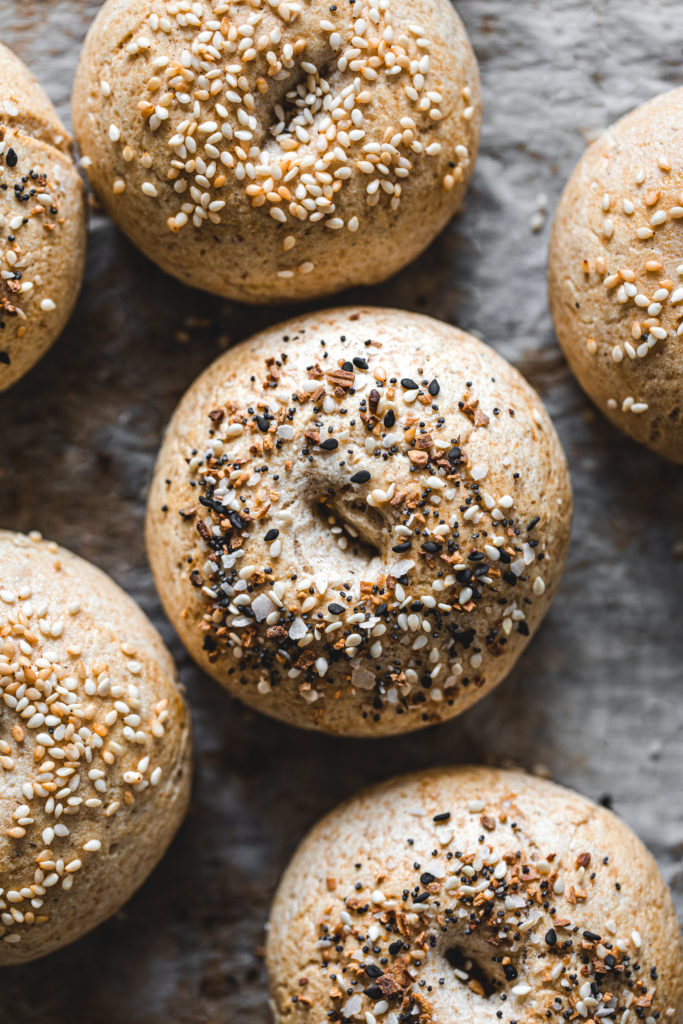
There’s nothing better than enjoying some freshly toasted bagels, except for enjoying freshly toasted homemade vegan and gluten-free bagels. Yup, you heard it right, these tasty looking bagels are gluten-free! For the longest time I’ve been wanting to develop a gluten-free and plant-based recipe for bagels. My husband is a huge fan and has been begging me for months. So here we are.
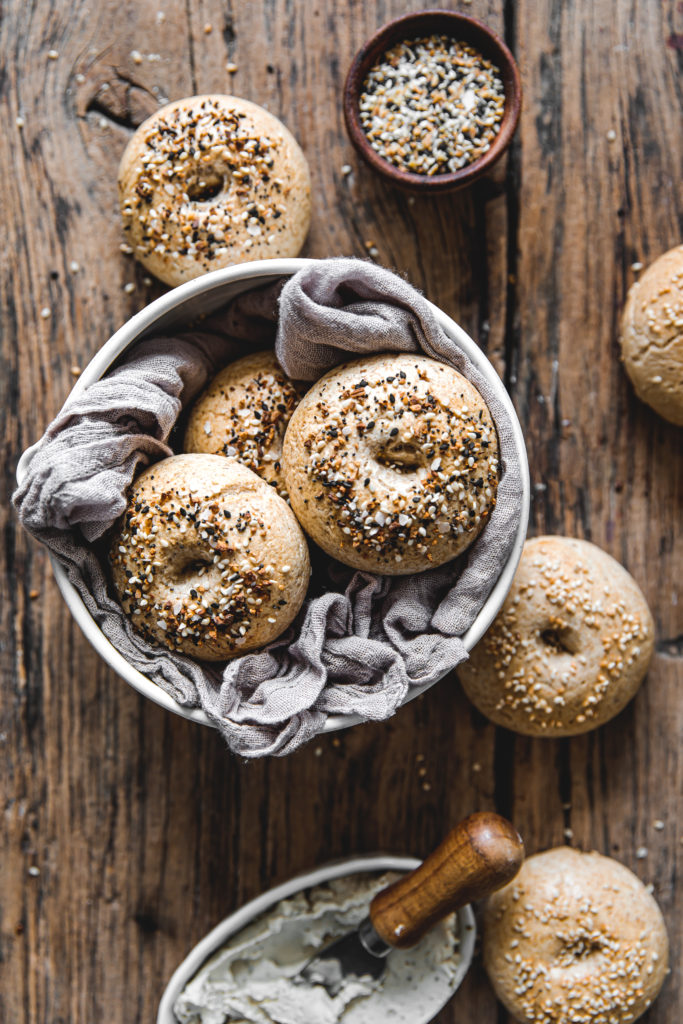
For this recipe I used a gluten-free flour blend of brown rice flour, gluten-free oat flour, tapioca flour, and corn starch. To make things easier or as an alternative you could sub the oat flour with brown rice flour and potato starch would work as a corn starch replacement. If you are team grain-free but allow eggs try these Sesame baked Bagels
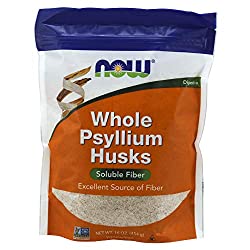
As a binding agent I used whole psyllium husk. It’s a great gum-free alternative. If mixed with liquid it basically turns into gel. Perfect for gluten-free baking.
To make the recipe completely plant-based, instead of using an egg wash I decided to brush the bagels with a bit of olive oil. Finish them off with your favorite toppings and you got yourself a winner.
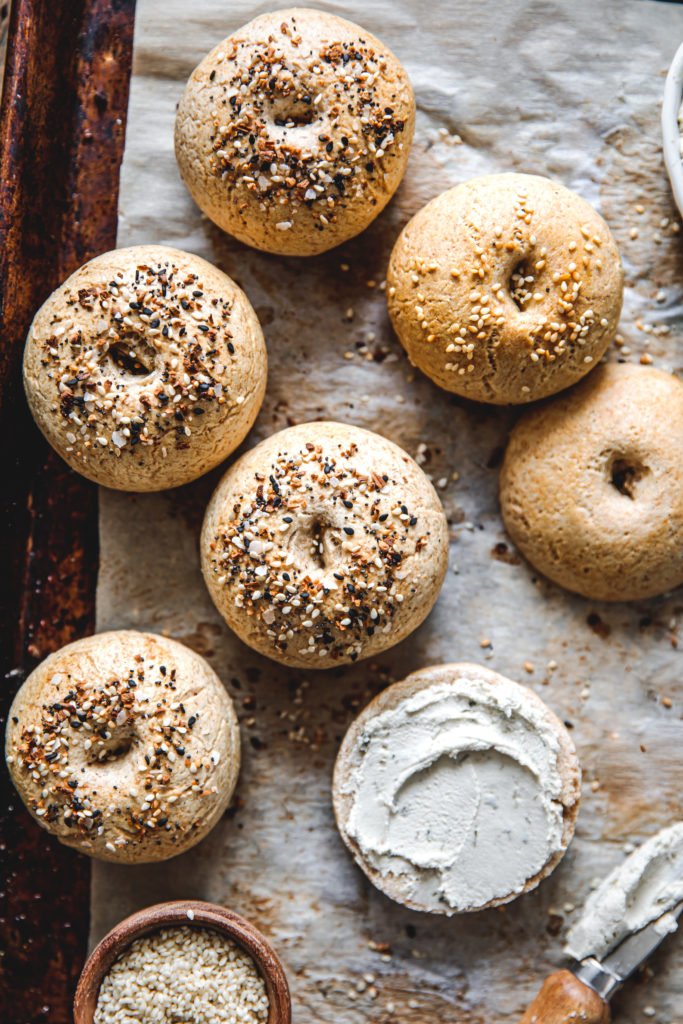
How to prepare vegan & gluten-free bagels
In a small saucepan heat cashew milk until warm. Make sure to not overheat the milk. You don’t want to kill the yeast. If you don’t have any milk on hand, you can always use warm water.
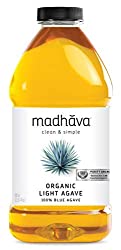
Pour into a bowl. Add agave syrup and yeast. Mix and set aside for about 10 minutes until yeast activates and foams. If it doesn’t get foamy, try a new package. As more food for the yeast, you could also use a tablespoon of cane sugar or maple syrup.
While your yeast is doing its thing, add brown rice four, oat flour, tapioca flour, corn starch, whole psyllium husk, salt and baking powder into a large mixing bowl or stand mixer with a dough attachment. I used my KitchenAid but you can easily just mix the dough in a mixing bowl. Add the yeast milk mixture and apple cider vinegar. Mix with a wooden spoon until dough comes together. Continue kneading with your hands until it forms a smooth ball. If it appears too dry and won’t take shape, add a bit of water.
Divide the dough into 6 pieces and shape each into a ball. With your thumb create a hole in the center. Transfer onto a parchment paper lined baking sheet and cover with a dish towel or plastic wrap. Let rest in a warm area for about 60 minutes.
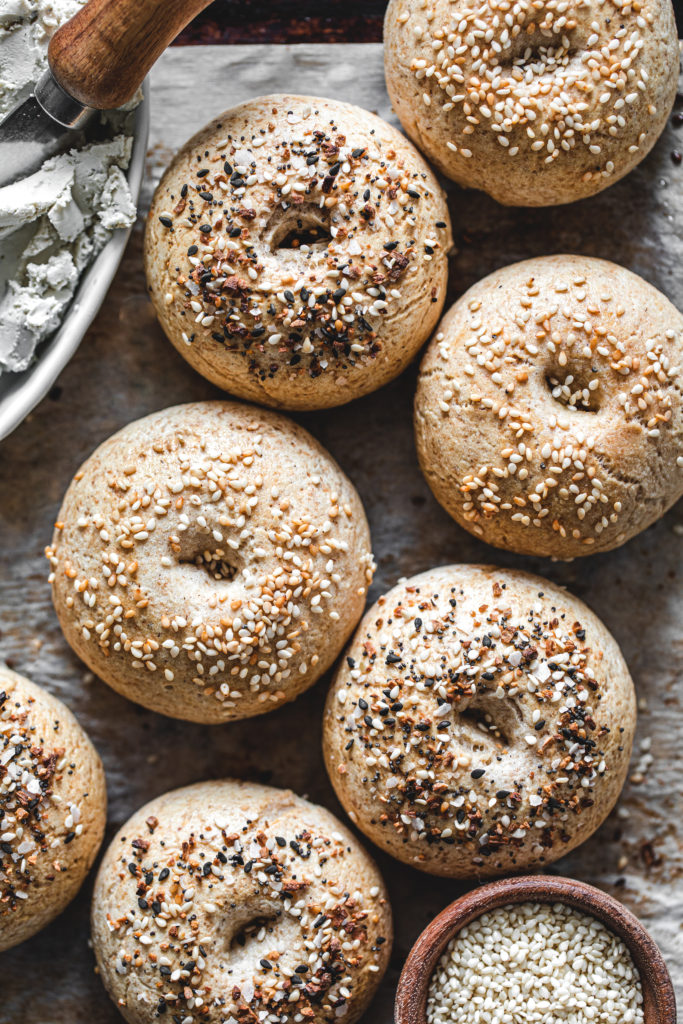
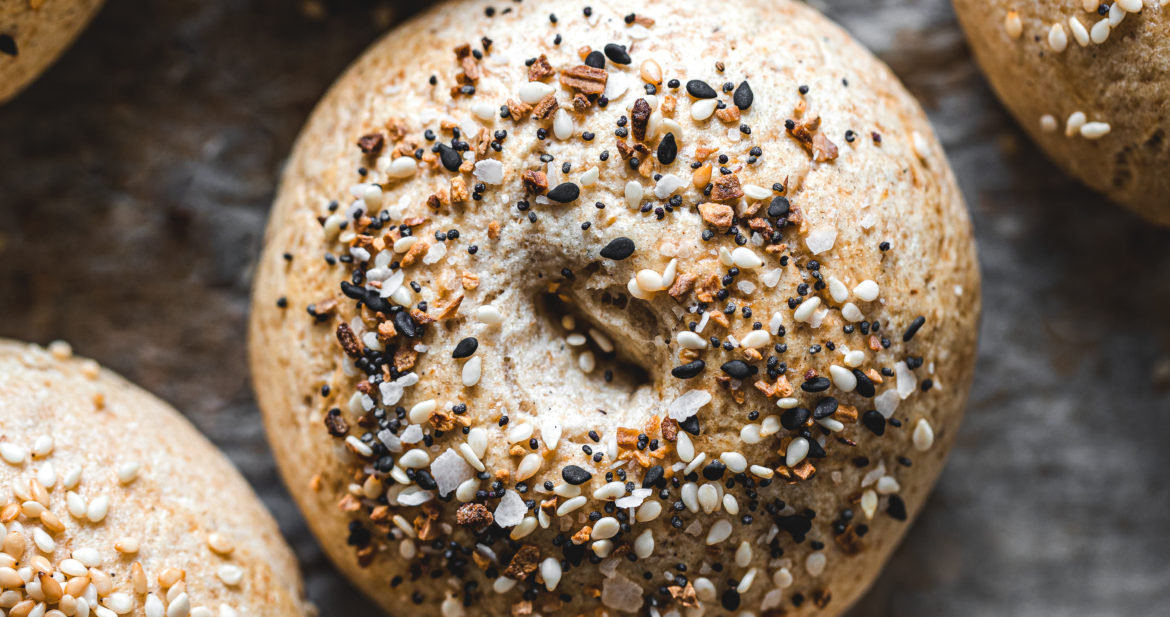
Once the bagels are done rising, bring a medium sized pot of water to a boil and preheat the oven to 425F. With a slotted spoon drop 2-3 bagels at a time into the water. Boil for about 45 seconds, then flip them and boil for another 45 seconds. Transfer back onto the baking sheet. Brush with olive oil and sprinkle with either everything seasoning, sesame, coarse salt or poppy seeds. Bake on the middle rack for about 25-30 minutes until the bagels are golden brown.
Slice leftover bagels and store in an airtight ziplock bag in the freezer. Best to enjoy freshly toasted and topped with delicious vegan cashew cream cheese. Yum, I am drooling, just thinking about it.
Loving the gluten-free breakfast option? Here are some other delicious recipes for you to try.
- Vegan & Gluten-free German Soft Pretzels
- Vegan Gluten-free Waffles
- Gluten-free Oatmeal Cookies
- Chocolate Granola
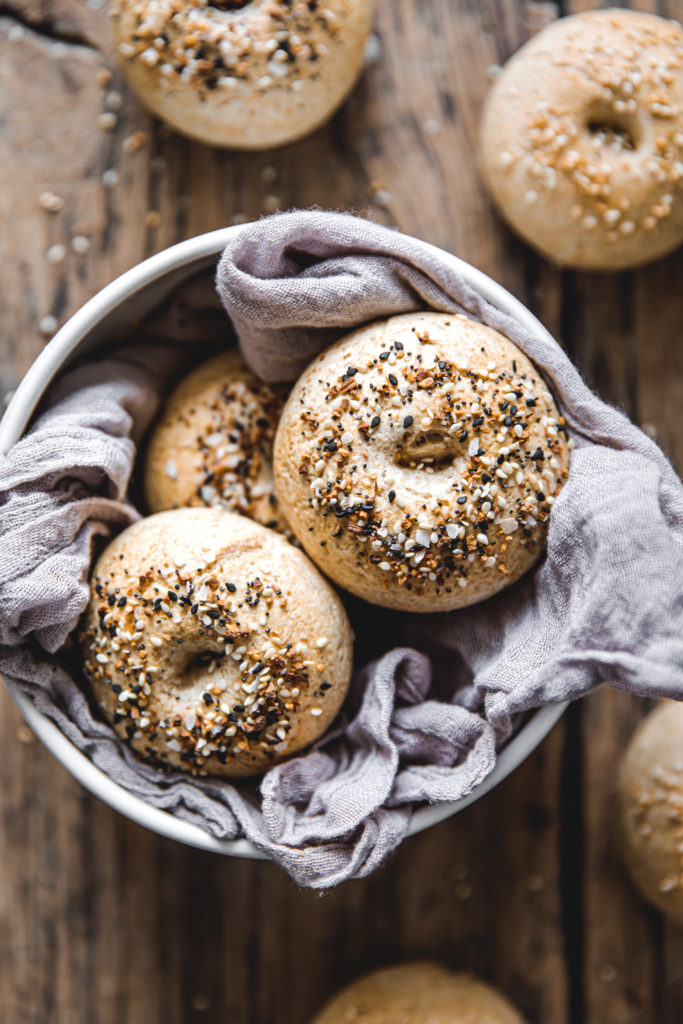
If you happen to make these deliciously soft and chewy gluten-free bagels, please let me know. I’d love to see how it turns out. As always, don’t forget to tag @delight.fuel or simply comment below.
This post contains an affiliate link. As an Amazon Associate I earn a small commission from qualifying purchases. I only recommend products that I trust and have used myself.
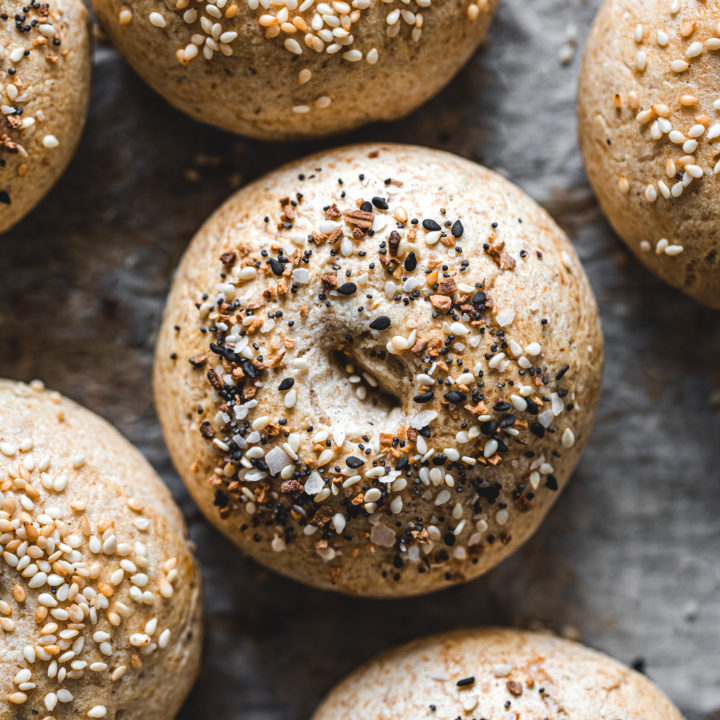
Vegan & Gluten-free Mini Bagels
These tasty vegan & gluten-free bagels are an absolute winner. They're way healthier than your regular old bagel, and will have you coming back for more. Soft, chewy, and incredibly delicious, to make things even better try them with vegan cashew cream cheese or vegan butter. These will become a breakfast staple for you!
Ingredients
Bagels
- 1 ⅓ cup cashew milk (sub with any other plant-based milk or water)
- 1 tbsp agave syrup (sub with maple syrup)
- 1 ¼ cups brown rice flour
- ½ cup gluten-free oat flour
- ¾ cup tapioca flour
- ½ cup corn starch
- 3 ½ tbsp whole psyllium husk
- 1 package active dry yeast (2 ¼ tsp)
- 2 ½ tsp salt
- 1 tbsp apple cider vinegar
- 1 ½ tsp baking powder
Toppings:
- Olive oil
- Everything seasoning, sesame, poppy seeds, coarse salt
Instructions
1. In a small saucepan heat cashew milk until warm.* Pour into a bowl. Add agave syrup and yeast. Mix and set aside for about 15 minutes until yeast activates and foams. If it doesn't get foamy, try a new package.
2. In the meantime add brown rice four, oat flour, tapioca flour, corn starch, whole psyllium husk, salt and baking powder into a large bowl or stand mixer with a dough attachment. Add the yeast milk mixture and apple cider vinegar. Mix until dough comes together. Continue kneading with your hands until it forms a smooth ball. If it appears too dry to shape, add a bit of water.
3. Divide dough into 6 pieces and shape each into a ball. With your thumb create a whole in the center. Transfer onto a parchment paper lined baking sheet and cover with a dish towel. Let rest at room temperature for about 60 minutes.
4. Once the bagels are done rising, bring a medium sized pot of water to a boil and preheat the oven to 425F.
5. Drop 1-3 bagels at a time into the water. Boil for about 45 seconds, then flip them and boil for another 45 seconds. Transfer back onto the baking sheet.
6. Brush with olive oil and sprinkle with either everything seasoning, sesame, coarse salt or poppy seeds. Bake on the middle rack for about 25-30 minutes until the bagels are golden brown.
7. Slice leftover bagels and store in an airtight zip block bag in the freezer. Toast to enjoy.
Notes
*Do not overheat the milk to prevent the yeast from dying. If the milk is too hot, wait for a few minutes until the milk has cooled down a bit.
Recommended Products
As an Amazon Associate and member of other affiliate programs, I earn from qualifying purchases.



Leave a Reply